Sunday, September 6, 2015

Eiffel Tower

 
I used the Tami Potter  Mosaic Moment method
 to create this scrapbook page.
Seven photos, taken from atop the Eiffel Tower, showing
a view in all directions,  were cut into one inch squares.
Then, I cut out a close up of the tower and  affixed with pop dots
to the bottom center of the page.
I am very please with the results.


Saturday, August 8, 2015

Teapot Treat box

 
 August is my month to invite a group of friends to
our monthly gathering and I chose the  English Rose Tea
Room in Virginia Beach.  Thought these little teapot
treat boxes would be the perfect favor to give everyone.
 
 Found a free download template on Pinterest. made
a copy, then printed the teapots on patterned papers.
 Tweezer scissors worked best  for cutting round the  curves.
 
 
Once assembled, I filled with candies of choice,
added a fabric flower and tied with white ribbon.
 
One lucky gal will be chosen, at random, to be the
recipient of  a gift bag containing something
related to the event. Perhaps a beautiful teapot,
cookies and assorted teas.


Sunday, July 5, 2015

Soccer Pages

 These are the two pages I  created yesterday  using
the Lanzarote stencil from AZZA.
Granddaughter is the goalie for the Liberty Girls
of Yorktown, Virginia.


After placement of the pictures and papers I 
shaded the other areas with a pastel pencil.
Click on the pictures for a larger view.


Saturday, June 20, 2015

Visit by The Hermione


This two page layout made using the AZZA  Bilbao stencil. 
 Birds stamped using one from the Japanese Spring kit. 
The Hermione docked in Yorktown, Virginia June 6-8th, 2015.
This is a replica of the vessel that brought Marquis de Lafayette
to America. Other pictures taken of activities and
places in Yorktown.  The Hermione will also visit many
ports along the East Coast as she makes her way to Nova Scotia.


Wednesday, May 27, 2015

Azza scrapbook pages


These pictures of  our  visit to  Mont Saint Michel were taken
on our October trip to France. I used the AZZA Sofia-Lima
Stencil. Their templates are a great bargain as one gets two
per package so the  possibilities for page layouts are endless.


I  ordered my templates after googling AZZA and found
Lyn Holmes web site. She was most helpful in telling
me how to order etc. and when finalized, shipment
from Australia only took about ten days. There
are lots of page layouts on Pinterest done with
the many templates they offer.

Saturday, May 16, 2015

First AZZA Scrapbook Page

 
I am so excited to post my first scrapbook page using
the AZZA  Bilbao template. The Cherry tree is made with
a stamp from the AZZA Therma kit using Wild Wasabi
ink pad from Stampin Up. The birdcage came in this
kit also, which I darkened with black ink for a wrought
iron look and hung from the tree branch with a thin
cord pierced through the paper. The cherry blossoms
colored using Peach (R32) Copic  marker.
 
I have seen this technique on Pinterest for some time and
finally found a consultant in Australia.   I was so excited
when my order arrived Thursday and could hardly wait
 for the weekend to do my first page. When I ordered
 my templates, I thought I was getting one template
 for each selection but to my surprise, each had two
 templates so the possibilities will be endless!!


Saturday, April 11, 2015

Great Grandson

 
What a cutie! I'm sure you can tell there will be plenty of
him in future scrapbook pages.
 
After selecting my background paper, I used the Cricut
cartridge Animal Kingdom for the giraffe and Mini Monograms
for the lettering. 
 

Sunday, April 5, 2015

Disney Autograph Books


These are the autograph books I made for my Granddaughter
and three of her friends for their trip to Disney next week.
 
 
I googled "Disney Autograph pages", chose which ones I wanted
from their  album and  downloaded using Shutterfly. I chose to
print each as index card size then cut them to measure  5 X 3 1/2
inches, which allowed for the binding at the top. Each book
contains 12 or 13 characters as well as 5 or 6 blank pages.
To make the front and back covers, I glued three layers of
red cardstock of the same measurements then used the
Carla Craft binding system to complete the books.
I cut out Mickey, glued onto the front cover and my
granddaughter added lettering and sticker to personalize each. 
Next two pages show some of the characters  selected
for their books.


Maddy took them to her friends last night and all are
so excited to have their own book. There will be
space for them to add photos they take with the
Disney Characters which will make a very nice memory
album of their trip.


Sunday, March 22, 2015

Notre Dame

 
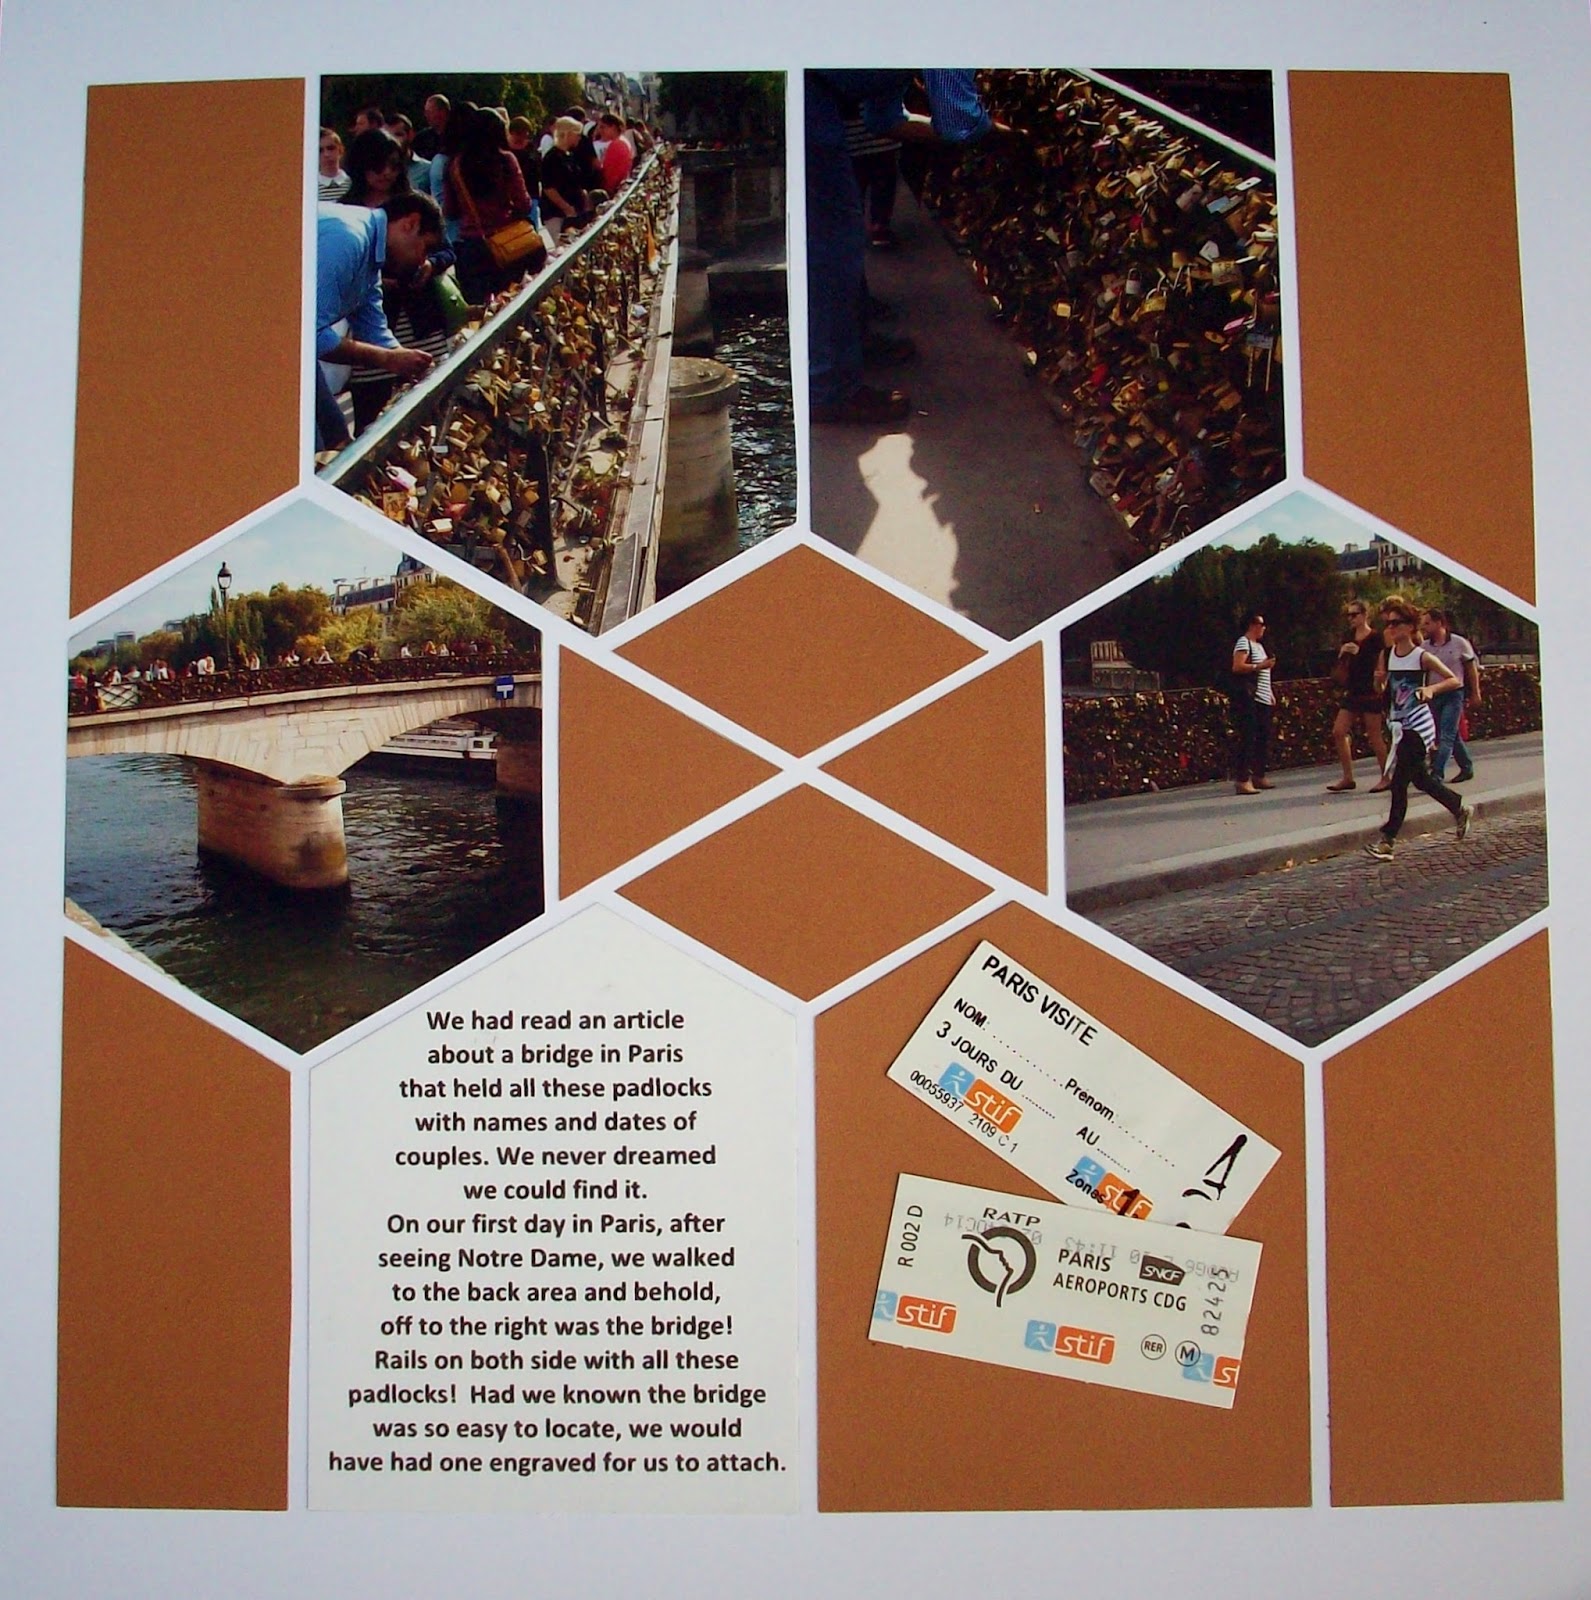
The following pictures were taken on our October trip to Paris.
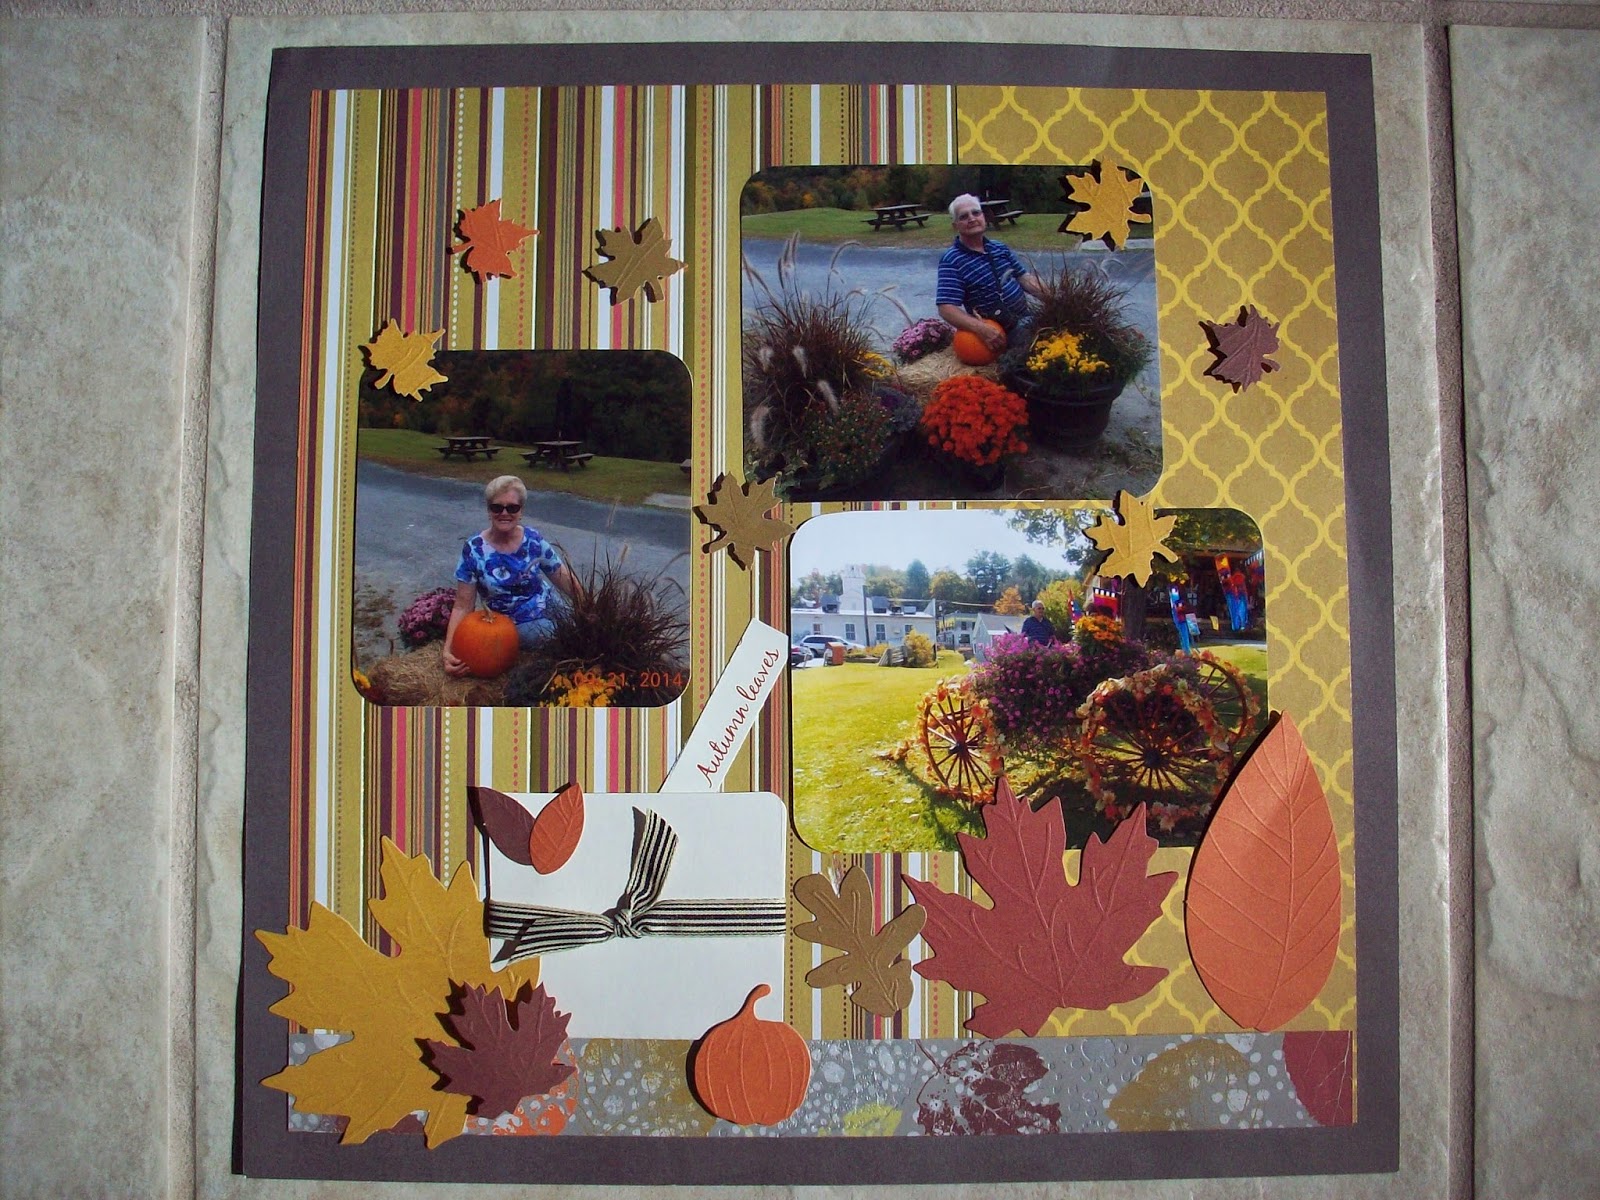
I used the Lea France Honey Comb Stencil and this one 
proved to be the most challenging. I have tried several times
to use this layout but always ended up cutting a picture incorrectly. 
Believe me, it took a lot of concentration to be sure I was cutting
each picture exactly how I wanted it.
 
 
Views of and  around Notre Dame. We were unable to
go inside as the lines were too long.

We had read about  a bridge in Paris that
couples had attached padlocks, engraved  with their
 names and dates, but never dreamed we would
be able to locate it.  After walking around to
the back side of Notre Dame, behold, off to the
right was the bridge. It is quite a site to see.
People were constantly added their padlocks and
makes one wonder just how many those rails
can support. No, we were not prepared to add one.
 
This Lea France technique is catching on with the
group I scrapbook with. Each stencil shows four layouts.
 
Till next time.


Tuesday, February 17, 2015

Scrapbook pages of Vermont Vacation

Spent a week with my  brother, sister-in-law and their friend in Stowe, Vermont
 staying at Smuggler's Notch Resort and what a wonderful time we had.
Hope you will enjoy these pages.
 
I cut a 12x12 area of the state map, marking where we
stayed and added a real Maple leaf . By car, we saw
 so many covered bridges as someone told us there
were over 50 in just the county we were in.
 
 These next two pages were taken at the base of a ski lift in Stowe.
The papers and leaf cut outs came in a packet and colors
were perfect as we were there in early October.


Next page are scenes as we walked around
the small town of Stowe.
 
 
Last page shows boulders on the side of the road
and a covered bridge as we were driving from
the Resort area into Stowe.
 
If we ever get the chance to go back we will be sure
to go in mid October as we were too early to see fall leaves
in their peak.
 
You can click on the pages for close up view.


Saturday, January 24, 2015

Olaf Fry Box

 
 These fry boxes were purchased  some years ago at a scrapbook expo and
am so excited I finally find a use for them.  I got my inspiration
from the Olaf Punch Art tutorial on YouTube by thepixiedustmom.
These were quite a hit with the ladies in my group at a  
scrapbook retreat last weekend.
Till next time.


Friday, January 16, 2015

Ho! Ho! Ho! Treat Box


                   Saw these cute  treat boxes on Pinterest that were  posted Nov. 19th, 2014  by
Amy Whelan. Her web site is www.amy'sinklings.com
I made six of them to give to my Doctor and staff at Christmas.
The only change I made to her instructions were using a different punch shape
behind the Ho! Ho! Ho! banner and a narrower band around the middle.
 Box measures 2" x 2"and I filled  with Reese's miniature peanut butter cups. 

Saturday, January 10, 2015

Lighthouse Shadowboxes

 
Sorry I am so late posting but just got busy with the holidays then illness since Christmas eve.
Doing so much better now and looking forward to getting back into crafting mode.


These are the shadowboxes I made for my friend's Christmas Gift.
Boxes are constructed with presentation board. After determining the desired
measurements and assembling, I covered the background with scrapbook paper
containing clouds.  Cut out the shape of the lighthouses, mounted on white card stock
then trimmed around leaving 1/8" border and mounted with pop dots.  Grayish rocks hot
glued at the base for the bulkhead effect.  I tried to locate seagull stickers to no avail then came across
actual pictures my husband had taken. Once cut out, they were the perfect size. Inside edges and outsides of the boxes are covered with weathered wood grain paper.